Monday, December 31, 2012

Afrin No Drip: A Review

I'm going to be completely honest with you here. I hate it when I get a cold. It's more of an annoyance than anything. Usually I end up craning my neck in the most awkward positions so I don't end up breathing on my kids when they want to snuggle. Mouth breathing is the worst. And you definitely don't want to spread those germs. Especially to little ones.

But guess what...that's so 2012. OK, well in a few days it will be. Point is, it's in the past. Now at the start of a cold, I stick it to my nasal congestion. Literally. Stick it. With Afrin No Drip Nasal Solution.


I've used a nasal solution a few times in the past. BUT (& that's a big BUT), I was not a fan. The solution always ended up either almost going in my throat, or just running back out. Yuck. 

Well it just so happened that by being a BzzAgent, I was invited into the Afrin Stick Up For Yourself BzzCampaign. So I thought...what the heck.

It all started last week when I woke up with a clogged right nostril. I went through half of my day trying to blow it out. Yea, it didn't work. Then it dawned on me that I had the Afrin No Drip (Original) from BzzAgent in my medicine cupboard. I braced myself for what I assumed would be next, the "no drip" part meant nothing to me. Two sprays & then I waited. And waited. And then I realized that it really wasn't going to drip back out. And it never went near my throat. And then I could breathe!
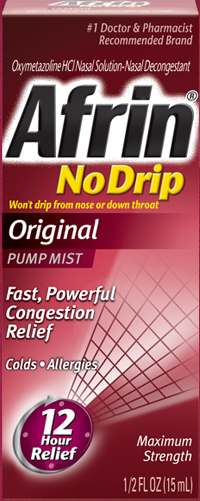

I was ecstatic! My day continued uneventful & I followed up with a couple more sprays before bed. Needless to say, I'm a mouth breather no longer. I stuck up for myself!

Let me explain a bit. Not only is Afrin great, but they're fun too. Afrin wants to help you "Stick It" to nasal congestion. You can also "Squeeze for Wisdom" & watch a short video on their website. You'll see, it's the simple things. Like breathing...through your nose.

Head on over to Afrin & check out all of the nasal sprays they have to offer. You can even compare them before you go to the store. Another thing to do before you go to the store, print out a coupon.

So what are you waiting for? Stick up for yourself with Afrin No Drip Original. (Or any of their other formulas if you prefer.)


*Afrin's pump mist delivers a measured dose of relief for up to 12 hours. Please read product directions & follow accordingly.

**Disclaimer: I received this product from BzzAgent & am simply sharing my opinion which may vary from yours. I was not compensated for this review.

Thursday, December 27, 2012

Tater Tot Casserole

So we had some snow in NE Ohio yesterday. Naturally that made me want some comfort food. But not just any comfort food, I wanted Tater Tot Casserole.


Before I get started, let me say that I have seen many different recipes for this with veggies in it. If that's what you're looking for...this isn't it. (Might I suggest a small salad or some veggies on the side perhaps?) But if you happen to have a love affair with cheese...keep reading.


You'll need:
-1 lb. hamburger
-1 small onion, diced (or 3 if you love them like I do)
-1 can cream of mushroom soup
-1 bag frozen tater tots
-1/2 block of regular size Velveeta cheese, cubed (8 oz. maybe?)
Not pictured:
-9x13 glass baking dish
-nonstick cooking spray
-aluminum foil

Start by cooking your hamburger & diced onions in a skillet over medium heat until meat is browned & onions are tender. Drain off any grease. (Shhh, don't tell but I forgot to take pictures of this part.)


While your meat is cooking, spray the 9x13 glass dish with nonstick cooking spray. Layer tater tots.


Get your cream of mushroom soup ready. Add 1 can water in a small saucepan over medium heat & cook until thoroughly combined. (I did remember to take this picture though. All better now?)

Your hamburger & onions should be done by now. Evenly spread out (as best as you can) over the tater tots.


Live action shot! OK, so it's a bit crooked. Anywho, evenly pour the soup over your dish.


And then comes the cheese!!! Cover with foil & bake at 350 degrees for 1 hour.


End result: Cheesy, potato, hamburger heaven. Also known as Tater Tot Casserole. Let it cool for 15 minutes before digging in. (P.S. salt & pepper is a must. Well in my world it is anyways.)

Enjoy!

Wednesday, December 26, 2012

It's a Holiday VoxBox!

Happy Holidays to me!


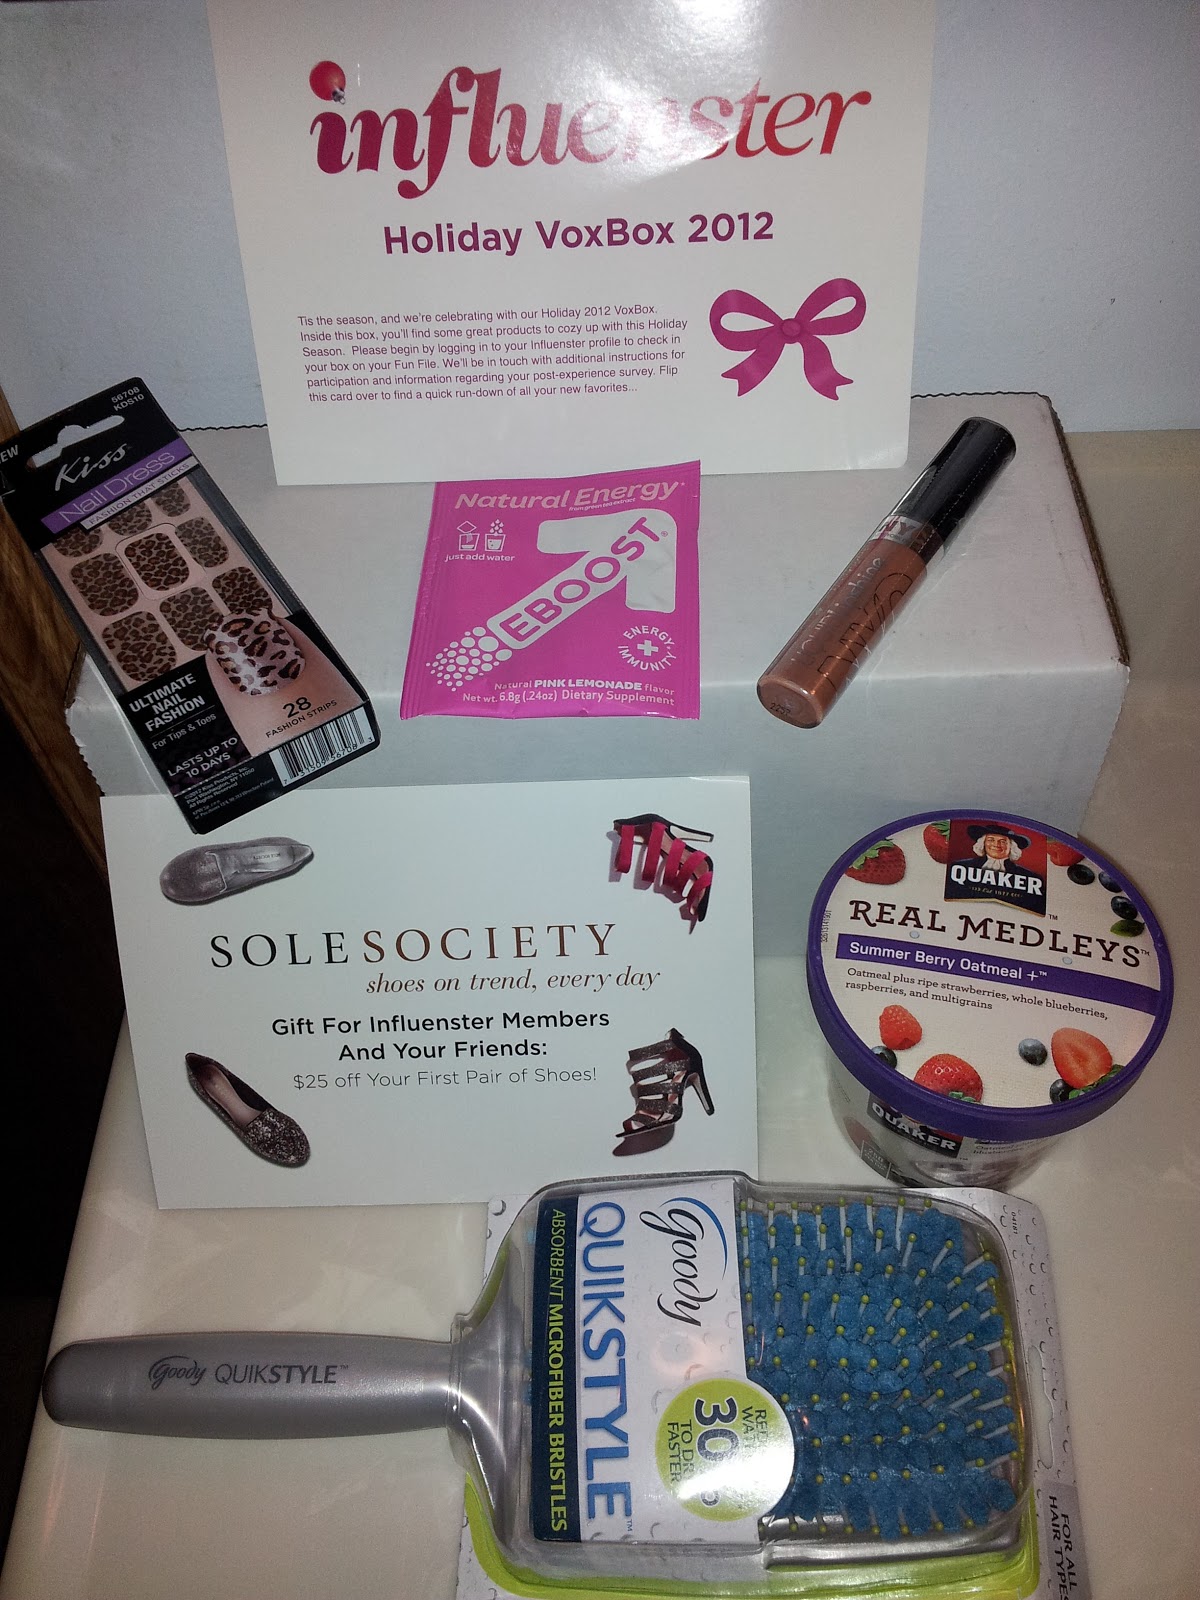
This is my Holiday VoxBox 2012 from Influenster. (Isn't it pretty?)

It's chock full of goodies, like:
*Quaker Real Medleys Oatmeal (Summer Berry)
*NYC New York Color Liquid Lipshine (Nude York City)
*Kiss Nail Dress (Princess)
*EBOOST (Pink Lemonade)
*Goody Quikstyle Paddle Brush
*$25 coupon code for Sole Society

Want to know more about Influenster? Check out a past blog post about their site relaunch here.

Want to know more about these awesome products? Well, don't worry, I'm testing them all out for you & will report back soon. 

Tuesday, December 25, 2012

Monday, December 24, 2012

Acorn Squash with Candied Walnuts

It's almost Christmas! I have been looking forward to my Christmas dinner for a few days now...glazed ham, baked sweet potatoes with candied walnuts, garlic roasted green beans, homemade crescent rolls & Caesar salad. I can hardly wait now! Actually, the other day I couldn't wait. So I made something a bit close to one of the dishes...acorn squash with candied walnuts.


This is so easy to make! And the candied walnuts just give it a great taste. Of course, I'm sure you could use pecans too. Actually I know you can, I just didn't have any in my cupboard.

Start by washing & halving your squash. Then scoop out all the seeds & pulp, getting it as clean as you can. Place cut side down in a 9x13 glass dish & add enough water to cover bottom by about 1/2 inch. Cover with foil & place in a 350 degree oven until done. (The top will be soft if you press on it.) Your cooking times will vary by the size of your squash, but roughly you're looking at 40-60 minutes (give or take).


At some point make your candied walnuts. My favorite recipe to use is HERE. But as a helpful hint, I don't worry about separating them out too much before they cool. It's easier for me to just break the chunks later after they've cooled. And I usually sift some powdered sugar on top too.

Now all you need to do is assemble. Follow closely...acorn squash, dab of butter, bit of brown sugar (so I like my sugars, you will too when you try this) & then candied walnuts.

Now if you'll excuse me, I hear some candied walnuts calling my name from a cupboard in the kitchen.

Enjoy!

Thursday, December 20, 2012

Genius Moment: Cutting Glass

I'm slightly addicted to Pinterest. One day I came across a pin for cutting glass with only yarn, nail polish remover & a lighter. I quickly re-pinned it & then followed through to view the actual post. I read it & it sounded super easy. This was months ago.

This past week I decided to do it. I grabbed my empty Perrier bottle which had been sitting on my kitchen counter for almost equally as long. I grabbed my supplies & filled the sink with cold water. I tried my best to get my yarn to stay where I wanted it to & tied a couple knots in it to help it. Then I soaked the yarn in some nail polish remover (with acetone, an important detail.) Re-positioned the yarn on my bottle & grabbed the lighter. I quickly turned the bottle on its side & began to spin it.

This is when my hubby walked over asking me what on earth I was doing. I told him & he just laughed, telling me I didn't want to do that. I instantly got a little scared, mind you, I was still spinning my burning bottle.

This is where re-reading the directions would have been a great idea, I thought to myself. I took a deep breath & rushed my bottle into the sink full of cold water & looked away. There were two loud pops & this is what I had.


The piece I had wanted off had actually broken off where I wanted it to. As well as shortly above for some reason (hence the two pops I heard). My edge is a bit jagged, no doubt from the knots I had tied in my yarn. But no big deal (there'll be more times to perfect it.) I grabbed my sandpaper & carefully started to sand the edge to help take away any sharpness.


I didn't have any flowers to put in it, so I opted for a few glass ball ornaments instead. With my lighted garland nearby on my entertainment center, it provides a great glow. 

Now, I had planned to link you all to the post I had originally seen this on. BUT, the pin had been reported as spam. Upon further investigation, the blog itself has been set to invitation only. So here are my best directions from memory, that weren't too shabby if I must say myself. (Which I must, we all know that.)

SUPPLIES:
glass bottle or jar
yarn
acetone nail polish remover
lighter
sink of COLD water
sandpaper

DIRECTIONS:
-Thoroughly clean & dry bottle (remove any stickers)
-Place yarn at desired point & wrap around a few times (you may need to secure)
-Remove yarn & THOROUGHLY soak in nail polish remover
-Replace yarn on glass
-Take lighter & light yarn
-Turn glass sideways & spin (Use your best judgement call on how many times to spin your glass based on the thickness.*This is the only part I can't seem to remember specifics so please use caution*)
-Plunge glass in cold water
-Sand your edges

*It was stated that some glass may crack or not break properly. It's all about experimentation. But I can vouch for a Perrier bottle. 

Tuesday, December 18, 2012

12 Days of Christmas Cookies

Now I know that there are not 12 days until Christmas. But my procrastinating nature along with things out of my control kind of shortens it. So far I have 2 out my 12 complete. Not too bad. Oh wait, did I mention that ideally I need to have everything done by Thursday night? Make note that it's now Tuesday night, so that's...2 days! I better get busy!


Courtesy of Betty Crocker


Courtesy of Betty Crocker
This year I got Strawberry-Rhubarb & Peach Jams to use for these. But my favorite will always be Apricot Jam!

To make them minty, just add some crushed Andes mints. Delish!

Just top with a Hershey Kiss! *muah*


Courtesy of Ann Clark Ltd.
* with Frosting

*minus the nuts

12. Rum Balls
This recipe calls for chocolate wafer cookies, but I substitute Nilla wafers & some cocoa powder. I also do not measure the rum. Which often results in adding more Nilla wafers, followed by more powdered sugar & then probably more rum. 
Regardless of how much of whatever ingredient you put in, you just want to be able to roll it in a ball & then roll it in powdered sugar.
Oh & fair warning, 2 of these & you will smell like a lush!